58 Results found for Lighting Accessories
-
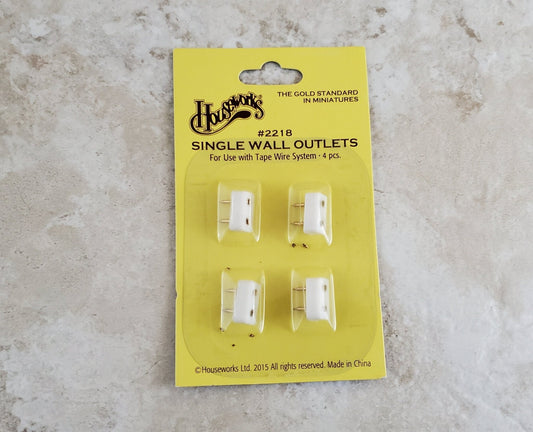
Dollhouse Miniature Outlet Wall Receptacle for 12 Volt Tape Wire Lights x4 1:12 Scale 2218
Regular price $4.46Regular priceUnit price per$5.25Sale price $4.46 -
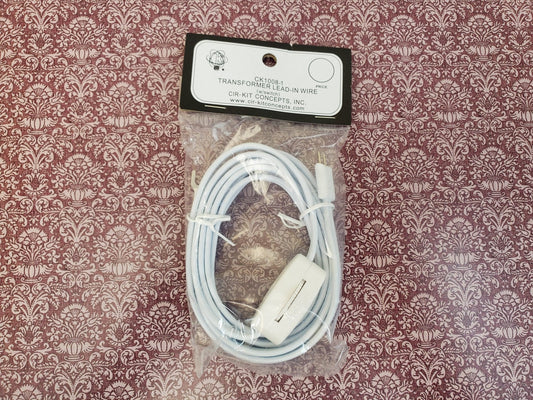
Dollhouse Transformer Lead In Wire for Copper Tape Wire by Cir-Kit Concepts CK1008-1
Regular price $6.79Regular priceUnit price per$7.99Sale price $6.79 -
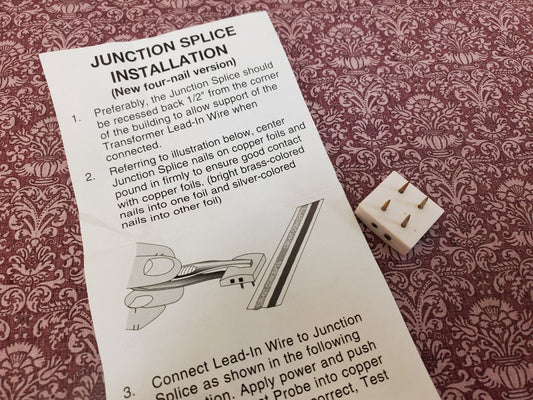
Dollhouse Junction Splice for Copper Tape Wire 4 Prong by Cir-Kit Concepts CK1007
Regular price $5.94Regular priceUnit price per$6.99Sale price $5.94 -
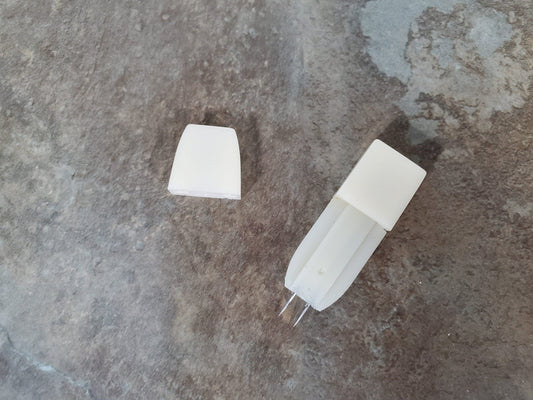
Dollhouse Electrical Test Probe for Copper Tape Wire by Houseworks #2229
Regular price $4.24Regular priceUnit price per$4.99Sale price $4.24 -
Dollhouse Tapewire 15' Feet Cir-Kit 1001 2 Conductor Tape Wire
Regular price $9.34Regular priceUnit price per$10.99Sale price $9.34 -
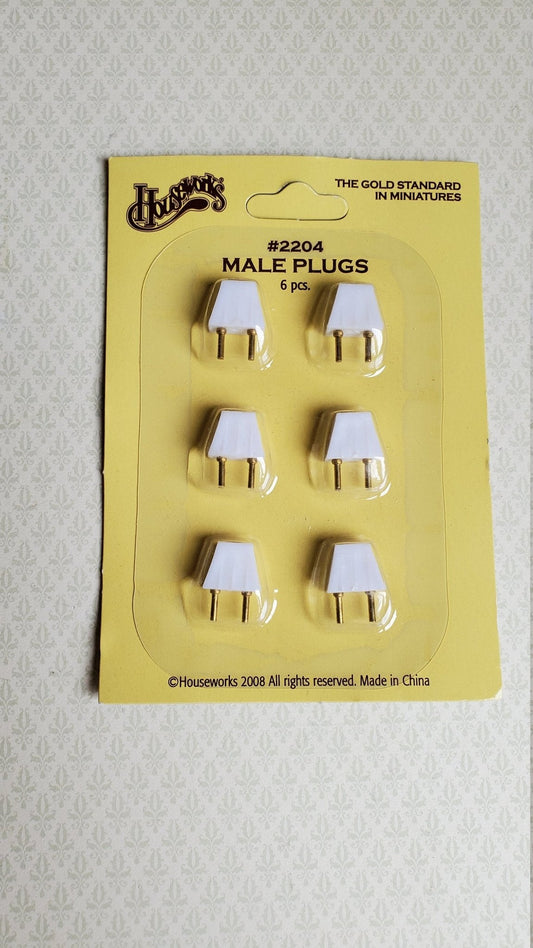
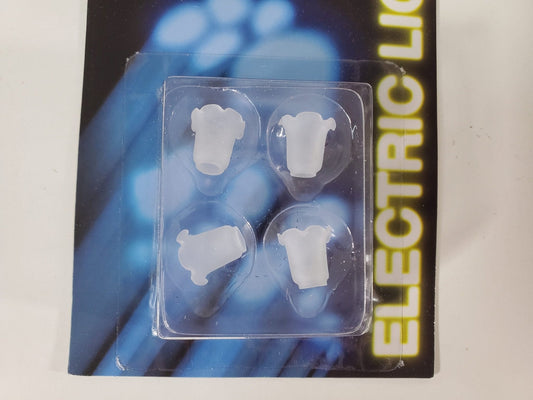
Dollhouse Miniature Plugs for 12 Volt Light Fixtures 6 Piece 1:12 Scale Houseworks 2204
Regular price $3.39Regular priceUnit price per$3.99Sale price $3.39 -
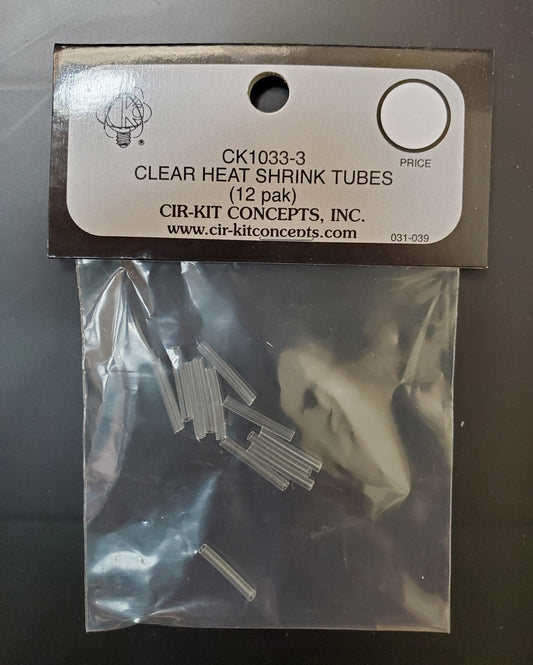
Dollhouse Heat Shrink Tubes Clear 12 Pack by Cir-Kit Concepts CK1033-3
Regular price $3.39Regular priceUnit price per$3.99Sale price $3.39 -
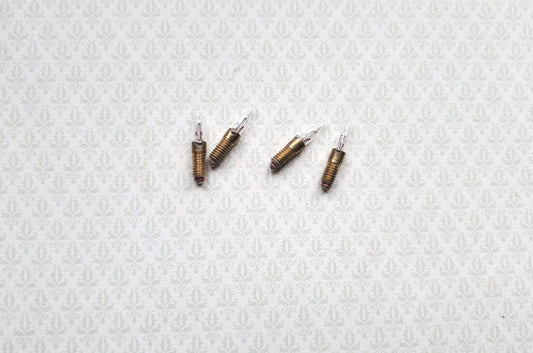
Dollhouse Miniature Screw Base Candle Tip Bulbs Set of 4 Replacements 1:12 Scale CK1010-29
Regular price $5.09Regular priceUnit price per$5.99Sale price $5.09 -
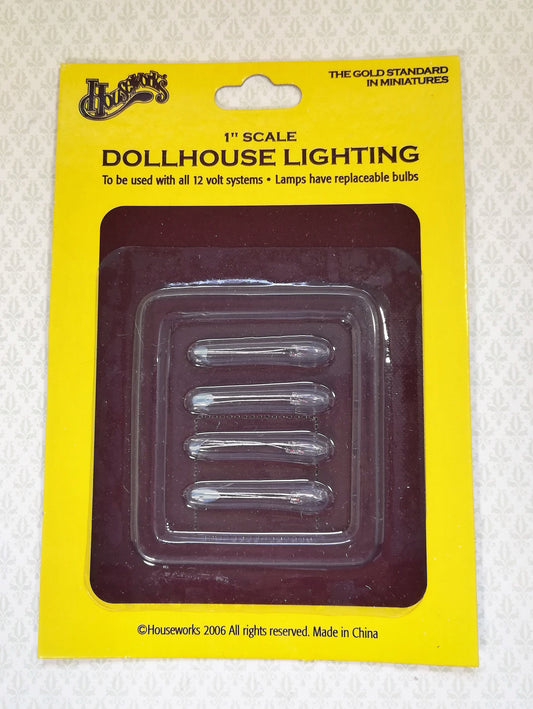
Dollhouse Bi-Pin Micro Flame Candle Bulbs 4 piece 1:12 Scale 12 Volt Houseworks
Regular price $4.24Regular priceUnit price per$4.99Sale price $4.24 -
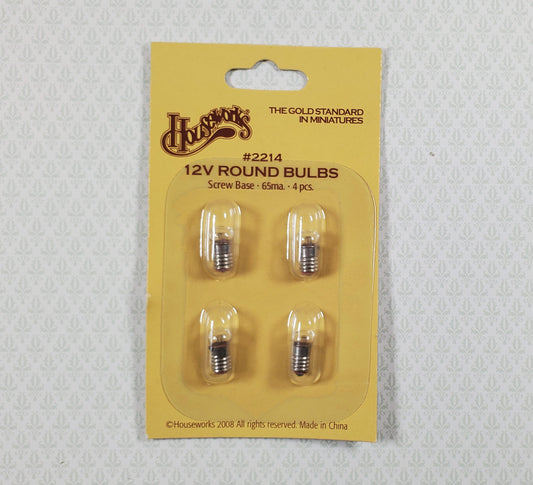
12 Volt Dollhouse Replacement Bulbs Pea Bulb Screw Base Set of 4 Miniatures
Regular price $5.05Regular priceUnit price per$5.95Sale price $5.05 -
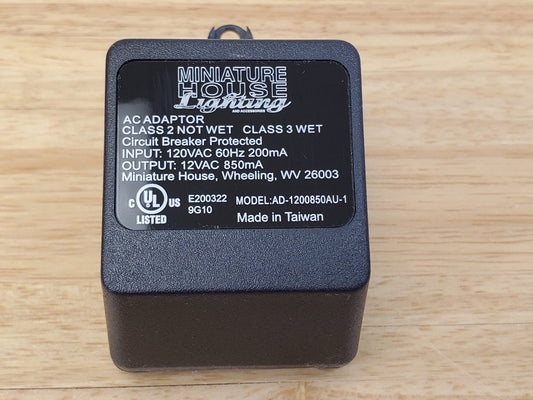
Dollhouse Transformer 10 Watt for Wiring up to 16 12volt Bulbs Small to Medium Houses MH40110
Regular price $25.49Regular priceUnit price per$29.99Sale price $25.49 -
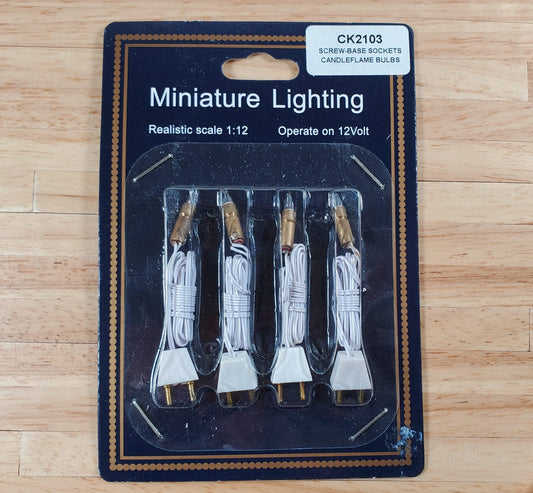
Dollhouse Screw Base Sockets with Candle Bulbs & Plug x4 1:12 Scale Miniatures
Regular price $6.79Regular priceUnit price per$7.99Sale price $6.79 -
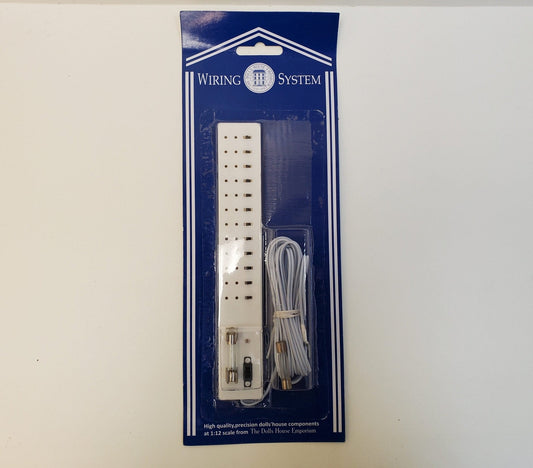
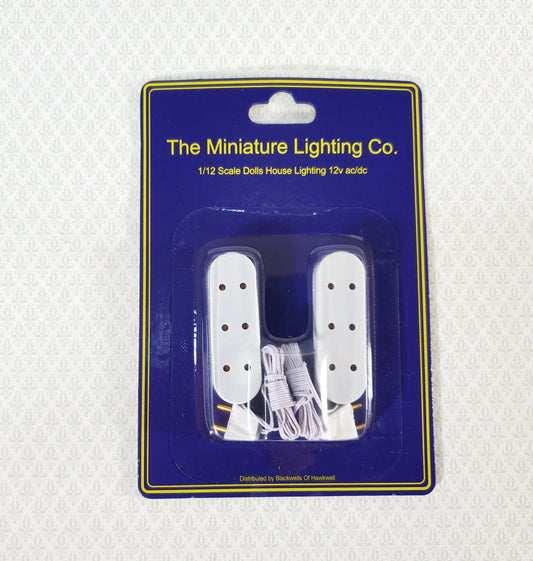
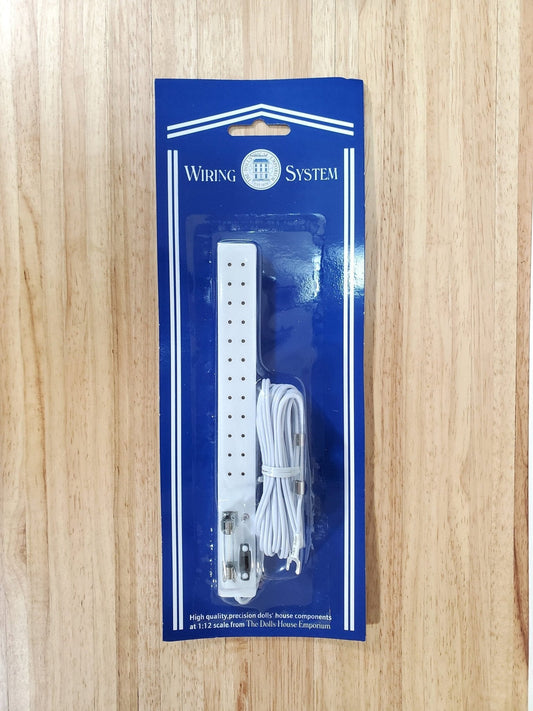
Dollhouse Power Strip with On/Off Switches 12 Plugs Wiring System for Plug In Lights
Regular price $18.69Regular priceUnit price per$21.99Sale price $18.69 -
Dollhouse 3 Plug Triple Standard Outlet Extension Cords x2 for 1:12 Scale Miniature Lighting
Regular price $7.64Regular priceUnit price per$8.99Sale price $7.64 -
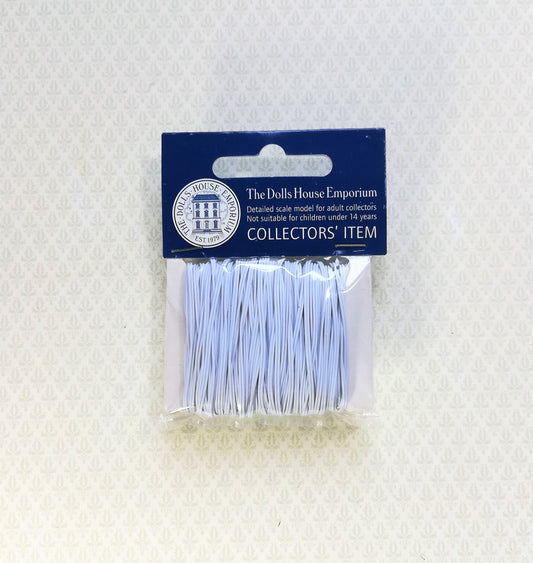
Dollhouse 12v Wire White 50 Feet for Wiring Your Dollhouse 1:12 Scale Round Wire
Regular price $5.94Regular priceUnit price per$6.99Sale price $5.94 -
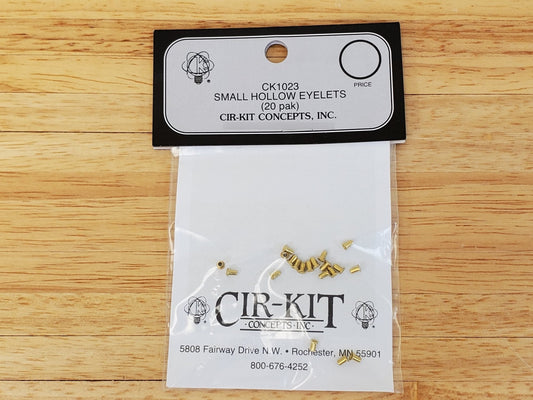
Cir-Kit Eyelets Small Hollow 20 Pack for Dollhouse Tape Wire Set-ups CK1023
Regular price $2.96Regular priceUnit price per$3.49Sale price $2.96 -
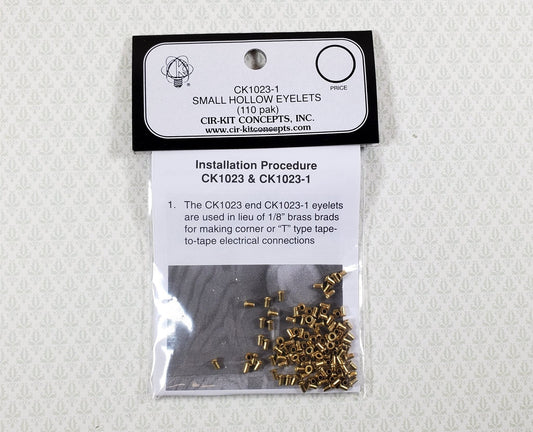
Cir-Kit Eyelets Small Hollow 110 Pack for Dollhouse Tape Wire Set-ups CK1023-1
Regular price $5.94Regular priceUnit price per$6.99Sale price $5.94 -
Dollhouse Basic Wiring Kit 12 Volt Tape Wire System Cir-Kit Concepts
Regular price $44.15Regular priceUnit price per$51.95Sale price $44.15 -
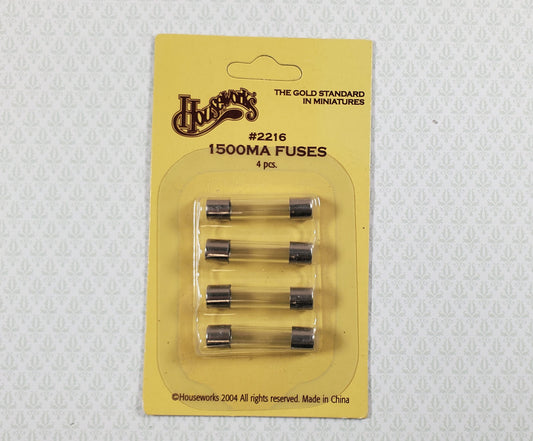
1500 Milliamp Fuses Houseworks 2216 for Dollhouse Power Strips Replacement Part
Regular price $3.35Regular priceUnit price per$3.95Sale price $3.35 -
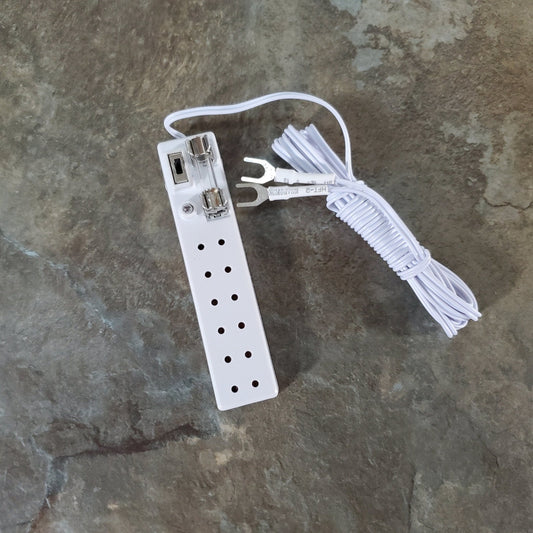
Dollhouse Power Strip with Fuse & On/Off Switch 6 Plugs 1:12 Scale Miniature
Regular price $9.77Regular priceUnit price per$11.50Sale price $9.77 -
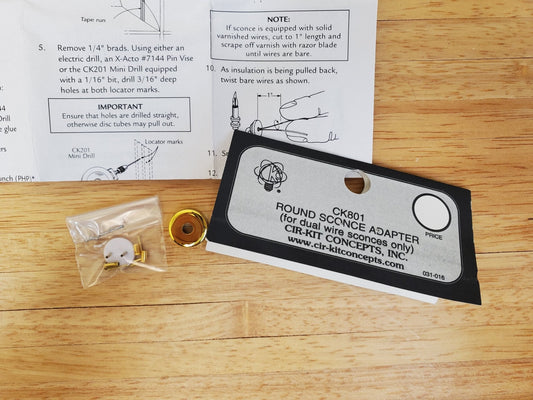
Cir-Kit Sconce Adaptor for Wall Light 1:12 Scale Dollhouse for Tape Wire Set-ups
Regular price $6.79Regular priceUnit price per$7.99Sale price $6.79 -
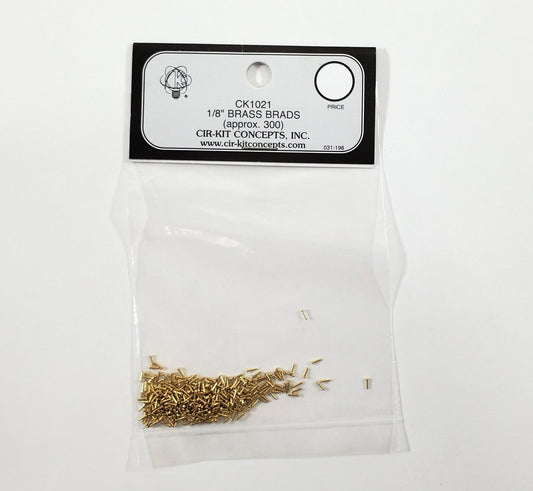
Cir-Kit 1/8" Brass Brads Nails 300 Pack for Dollhouse Tape Wire Set-ups CK1021-1
Regular price $6.79Regular priceUnit price per$7.99Sale price $6.79 -
Dollhouse Power Strip with Fuse & Switch 12 Plugs Wiring System for Plug In Lights
Regular price $13.59Regular priceUnit price per$15.99Sale price $13.59 -
12 Volt Dollhouse Replacement Bulbs Pea Bulb Screw Base Set of 4 Miniatures
Regular price $3.81Regular priceUnit price per$4.49Sale price $3.81 -
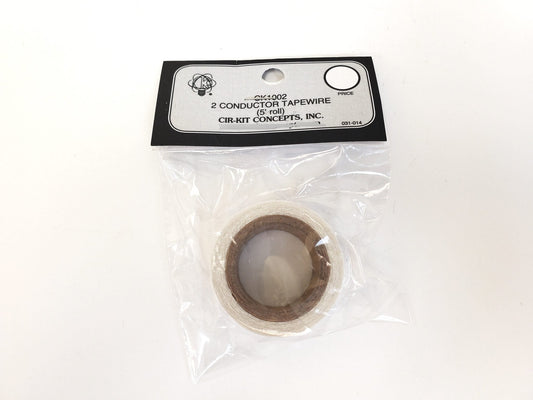
Dollhouse Tapewire 5' Feet Cir-Kit 1002 - 2 Conductor Tape Wire
Regular price $4.24Regular priceUnit price per$4.99Sale price $4.24 -
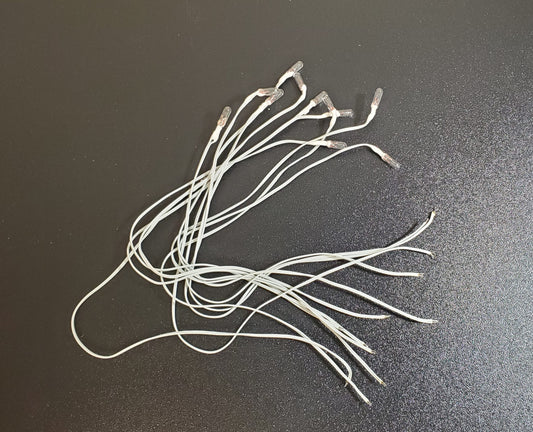
Dollhouse 16V GOW Grain of Wheat Bulb with Wire Set of 10 1:12 Scale HW8102
Regular price $10.15Regular priceUnit price per$11.95Sale price $10.15 -
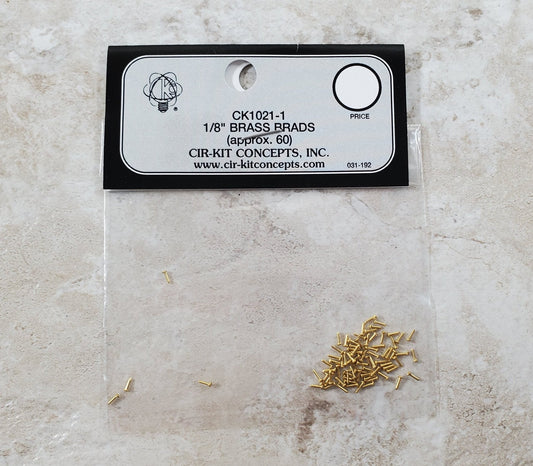
Cir-Kit 1/8" Brass Brads Nails 60 Pack for Dollhouse Tape Wire Set-ups CK1021-1
Regular price $2.96Regular priceUnit price per$3.49Sale price $2.96 -
Dollhouse Glass Tulip Shades Set of 4 Frosted 1:12 Scale Miniature DIY Lamps
Regular price $7.64Regular priceUnit price per$8.99Sale price $7.64 -
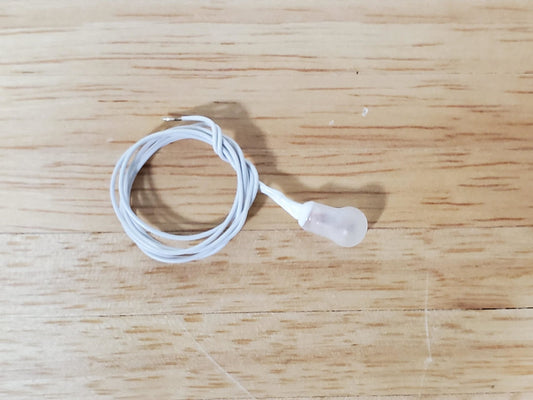
Cir-Kit Pea Bulb Frosted Light Fixture with Wire 1:12 Scale Dollhouse Miniature Attics Closets
Regular price $3.39Regular priceUnit price per$3.99Sale price $3.39 -
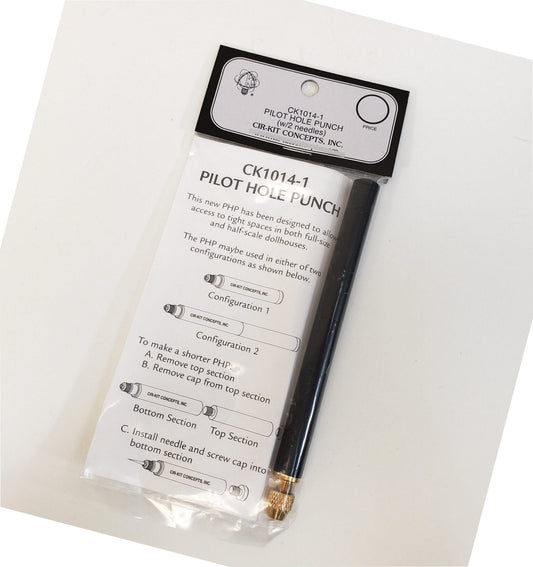
Dollhouse Pilot Hole Punch for Copper Tape Wire by Cir-Kit Concepts CK1014-1
Regular price $11.04Regular priceUnit price per$12.99Sale price $11.04 -
Dollhouse Power Connector with Power Supply Plug Tape or Round Wire Electrical
Regular price $23.79Regular priceUnit price per$27.99Sale price $23.79 -
Cir-Kit Chandelier Adaptor for Lights 1:12 Scale Dollhouse CK804 15/32" Diameter
Regular price $6.79Regular priceUnit price per$7.99Sale price $6.79 -
Dollhouse Tapewire 30' Foot Roll Cir-Kit 1000 2 Conductor Tape Wire
Regular price $17.80Regular priceUnit price per$20.95Sale price $17.80 -
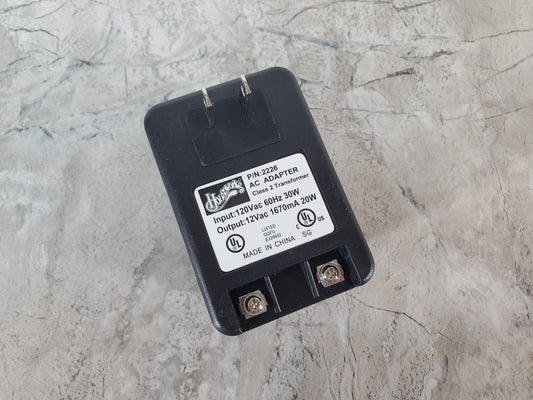
Dollhouse Transformer 30 Watt for Wiring 26 Bulb Capacity Small to Medium Houses HW2226
Regular price $30.60Regular priceUnit price per$36.00Sale price $30.60 -
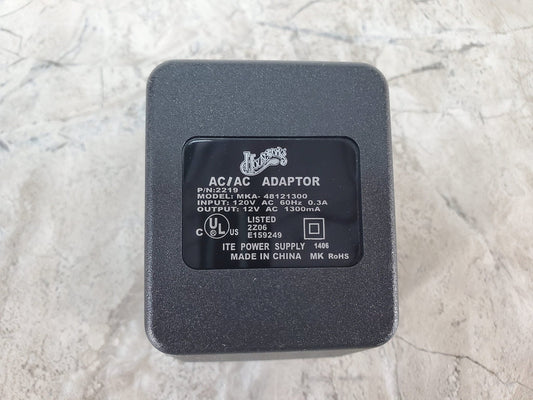
Dollhouse Transformer 10 Watt for Wiring 20 Bulb Capacity Small to Medium Houses HW2219
Regular price $25.49Regular priceUnit price per$29.99Sale price $25.49 -
Dollhouse Screw Base Bulb Socket with Lead Wire 1:12 Scale White 8" Wire
Regular price $3.39Regular priceUnit price per$3.99Sale price $3.39